Some links on this page are Amazon affiliate links. If you purchase through them I earn a small commission at no extra cost to you.
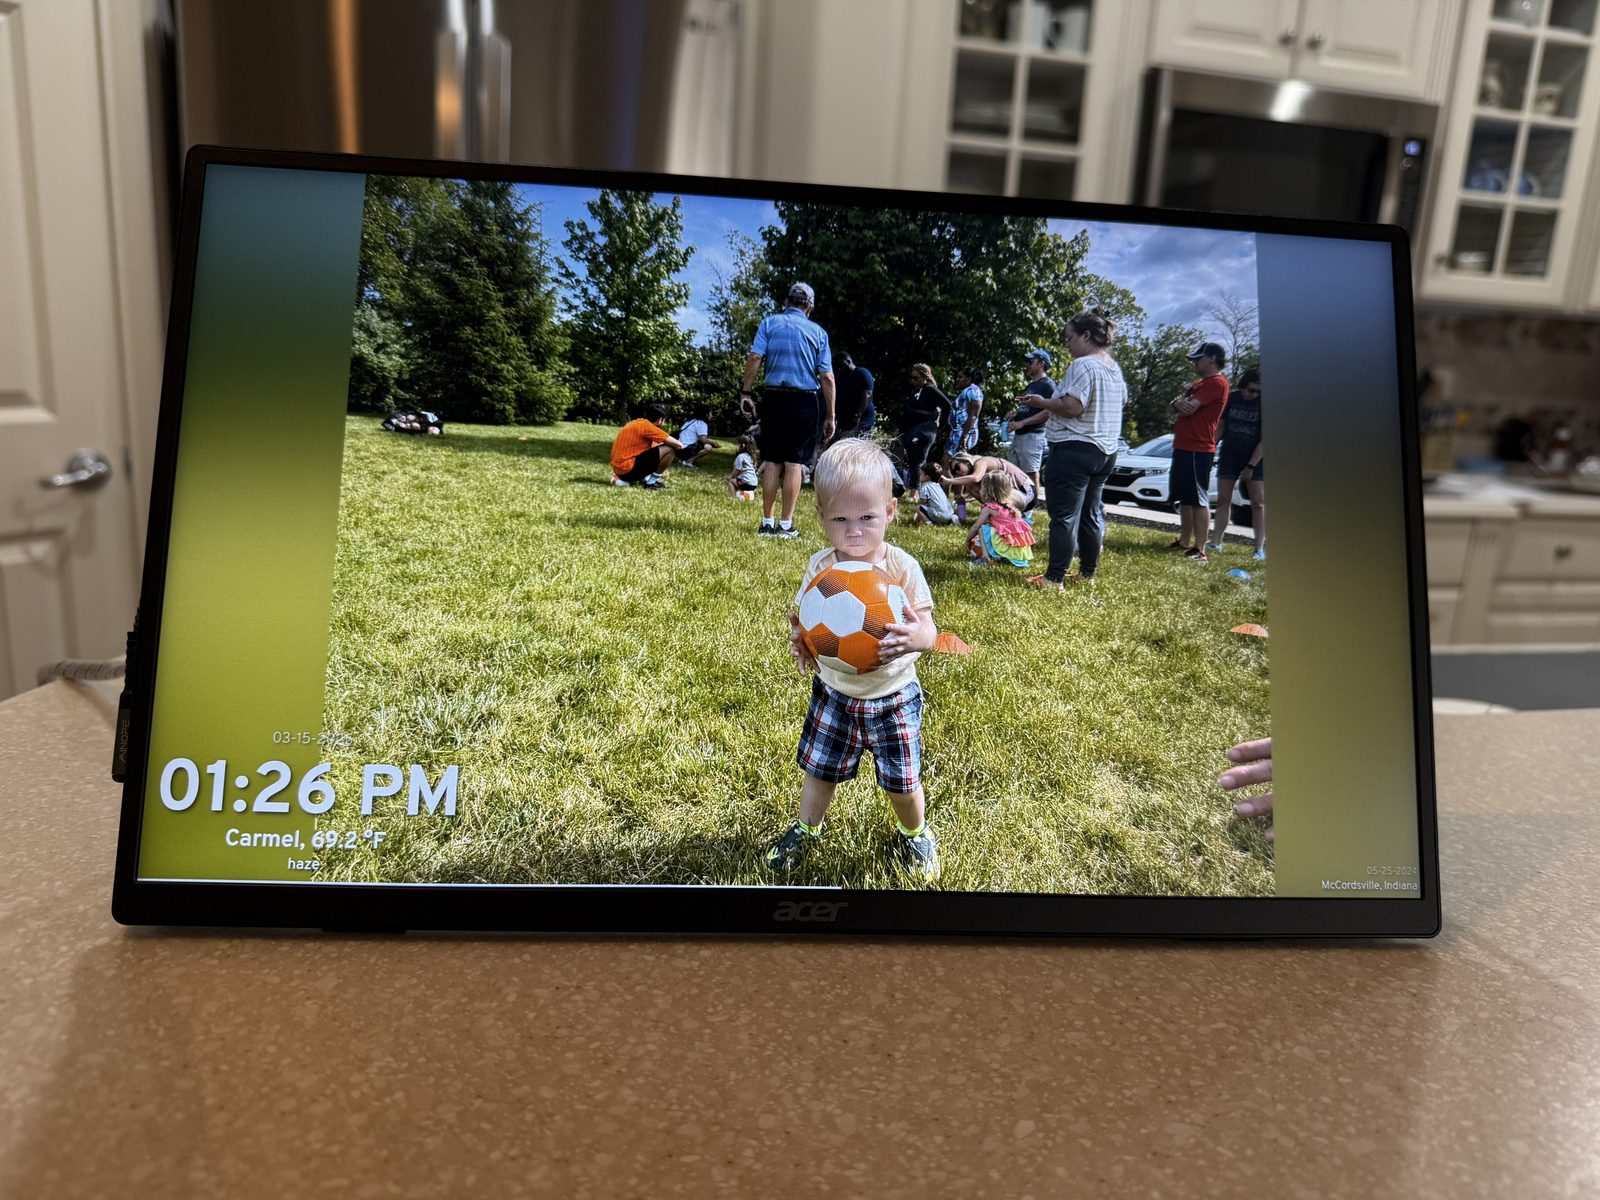
A digital photo frame is a great way to display cherished memories dynamically. This guide walks through setting up a self-hosted photo frame using a Raspberry Pi 4 and Immich Frame. My goal was to build one for my parents, preloaded with photos of my kids — they can also upload their own images, and the frame displays the time and weather for their location.
I'm running TrueNAS to serve the photos via Immich. As an added bonus, the frame also acts as an offsite rsync backup — so a hardware failure or disaster at home wouldn't destroy all my images.
Components needed
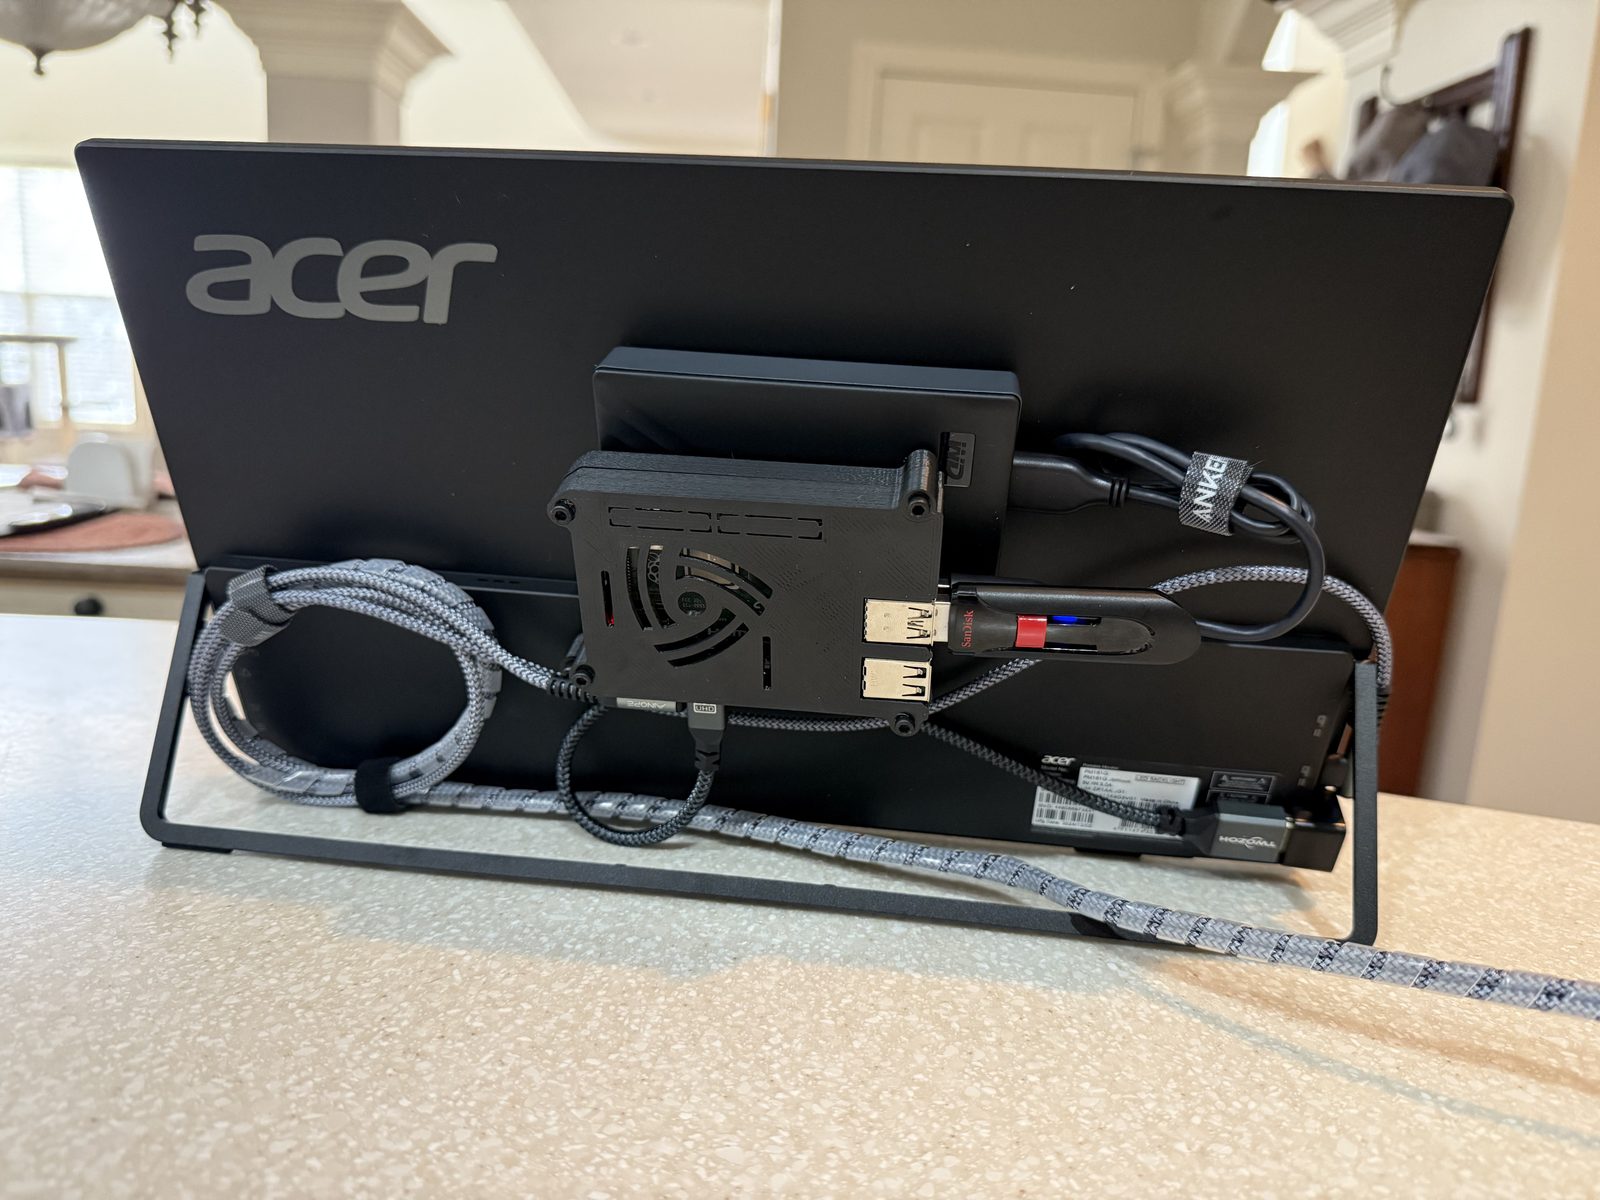
- 15" portable computer monitor
- Raspberry Pi 4 (2GB RAM)
- Custom 3D-printed case
- HDMI micro to mini adapter
- USB-C power adapter
- 16GB USB thumb drive
Configuring the Raspberry Pi
Step 1: Configure boot order to boot from USB
To boot from the USB drive, open a terminal and run:
sudo raspi-configNavigate to Advanced Options > Boot Order > USB Boot. Select OK, then Finish, and reboot.
Step 2: Install Raspberry Pi OS
Download the latest Raspberry Pi OS and flash it onto the 16GB USB thumb drive using Raspberry Pi Imager or Balena Etcher. Insert the USB drive and boot the Pi.
Step 3: Switch from Wayland to X11
Raspberry Pi OS defaults to Wayland, but X11 gives better compatibility for kiosk use. Run:
sudo raspi-configGo to Advanced Options > Wayland/X11, select X11, and reboot.
Setting up the Immich Frame kiosk
Step 1: Configure auto-boot kiosk mode
To automatically launch Immich Frame in full-screen on startup, create the autostart directory if it doesn't exist:
mkdir -p ~/.config/autostartThen create the kiosk desktop entry:
nano ~/.config/autostart/kiosk.desktopAdd the following content:
[Desktop Entry]
Type=Application
Name=Kiosk Browser
Exec=chromium-browser --kiosk --noerrdialogs --disable-infobars --incognito https://yourimmichframeinstance.com
StartupNotify=false
Save and exit with Ctrl+X, then Y, then Enter.
Step 2: Hide the cursor and disable the screen saver
Install the necessary tools:
sudo apt install unclutter -y && sudo apt install xdotool -yCreate the unclutter desktop entry:
nano ~/.config/autostart/unclutter.desktopAdd the following:
[Desktop Entry]
Type=Application
Name=Unclutter
Exec=sh -c "xset s off -dpms s noblank; xdotool mousemove $(($(xdpyinfo | awk '/dimensions/{print $2}' | cut -d 'x' -f1) / 2)) 0; unclutter --idle 0"
StartupNotify=false
Save and exit.
Setting up a power-saving schedule
To turn the display off between 11 PM and 6 AM, use cron. First install the required utilities:
sudo apt install x11-utils -yOpen the crontab editor:
crontab -eAdd these two lines:
0 23 * * * DISPLAY=:0 xset dpms force off
0 6 * * * DISPLAY=:0 xset dpms force on
Save and exit. The display will now shut off at 11 PM and come back on at 6 AM automatically.
A note on the backup setup
Beyond just displaying photos, this frame doubles as an offsite rsync backup for my entire photo library. I run Immich on TrueNAS at home, which serves the photos to the frame. The frame periodically syncs a copy back via rsync, which means a house fire or drive failure wouldn't wipe out everything. It's a nice side benefit of having a device with storage running 24/7 at a different location.
Conclusion
With these steps you'll have a self-hosted digital photo frame that updates automatically, turns itself off overnight, and keeps a live offsite backup of your photos as a bonus. It's a genuinely useful project and a meaningful gift — my parents can see updated photos of the grandkids without any app or subscription involved.