Monthly Archives: March 2015

Modified_Headphone_Hanger

How to modify an STL File

There are so many creations on Thingiverse, and still you may not have that perfect model that’s an exact fit for your needs.  What you can do is grab the STL file and modify it in your 3D modeling software.  My software of choice is SketchUp.  I get by just fine using the free version.  If I were making any money with my models, I would have to upgrade to Pro.  Otherwise, I have yet to run into any real limitations.

Modifying existing drawings is a great way to get a head start on your designs or just improve existing designs for your benefit.  Please be sure to give credit where credit is due and respect the model’s license agreement.

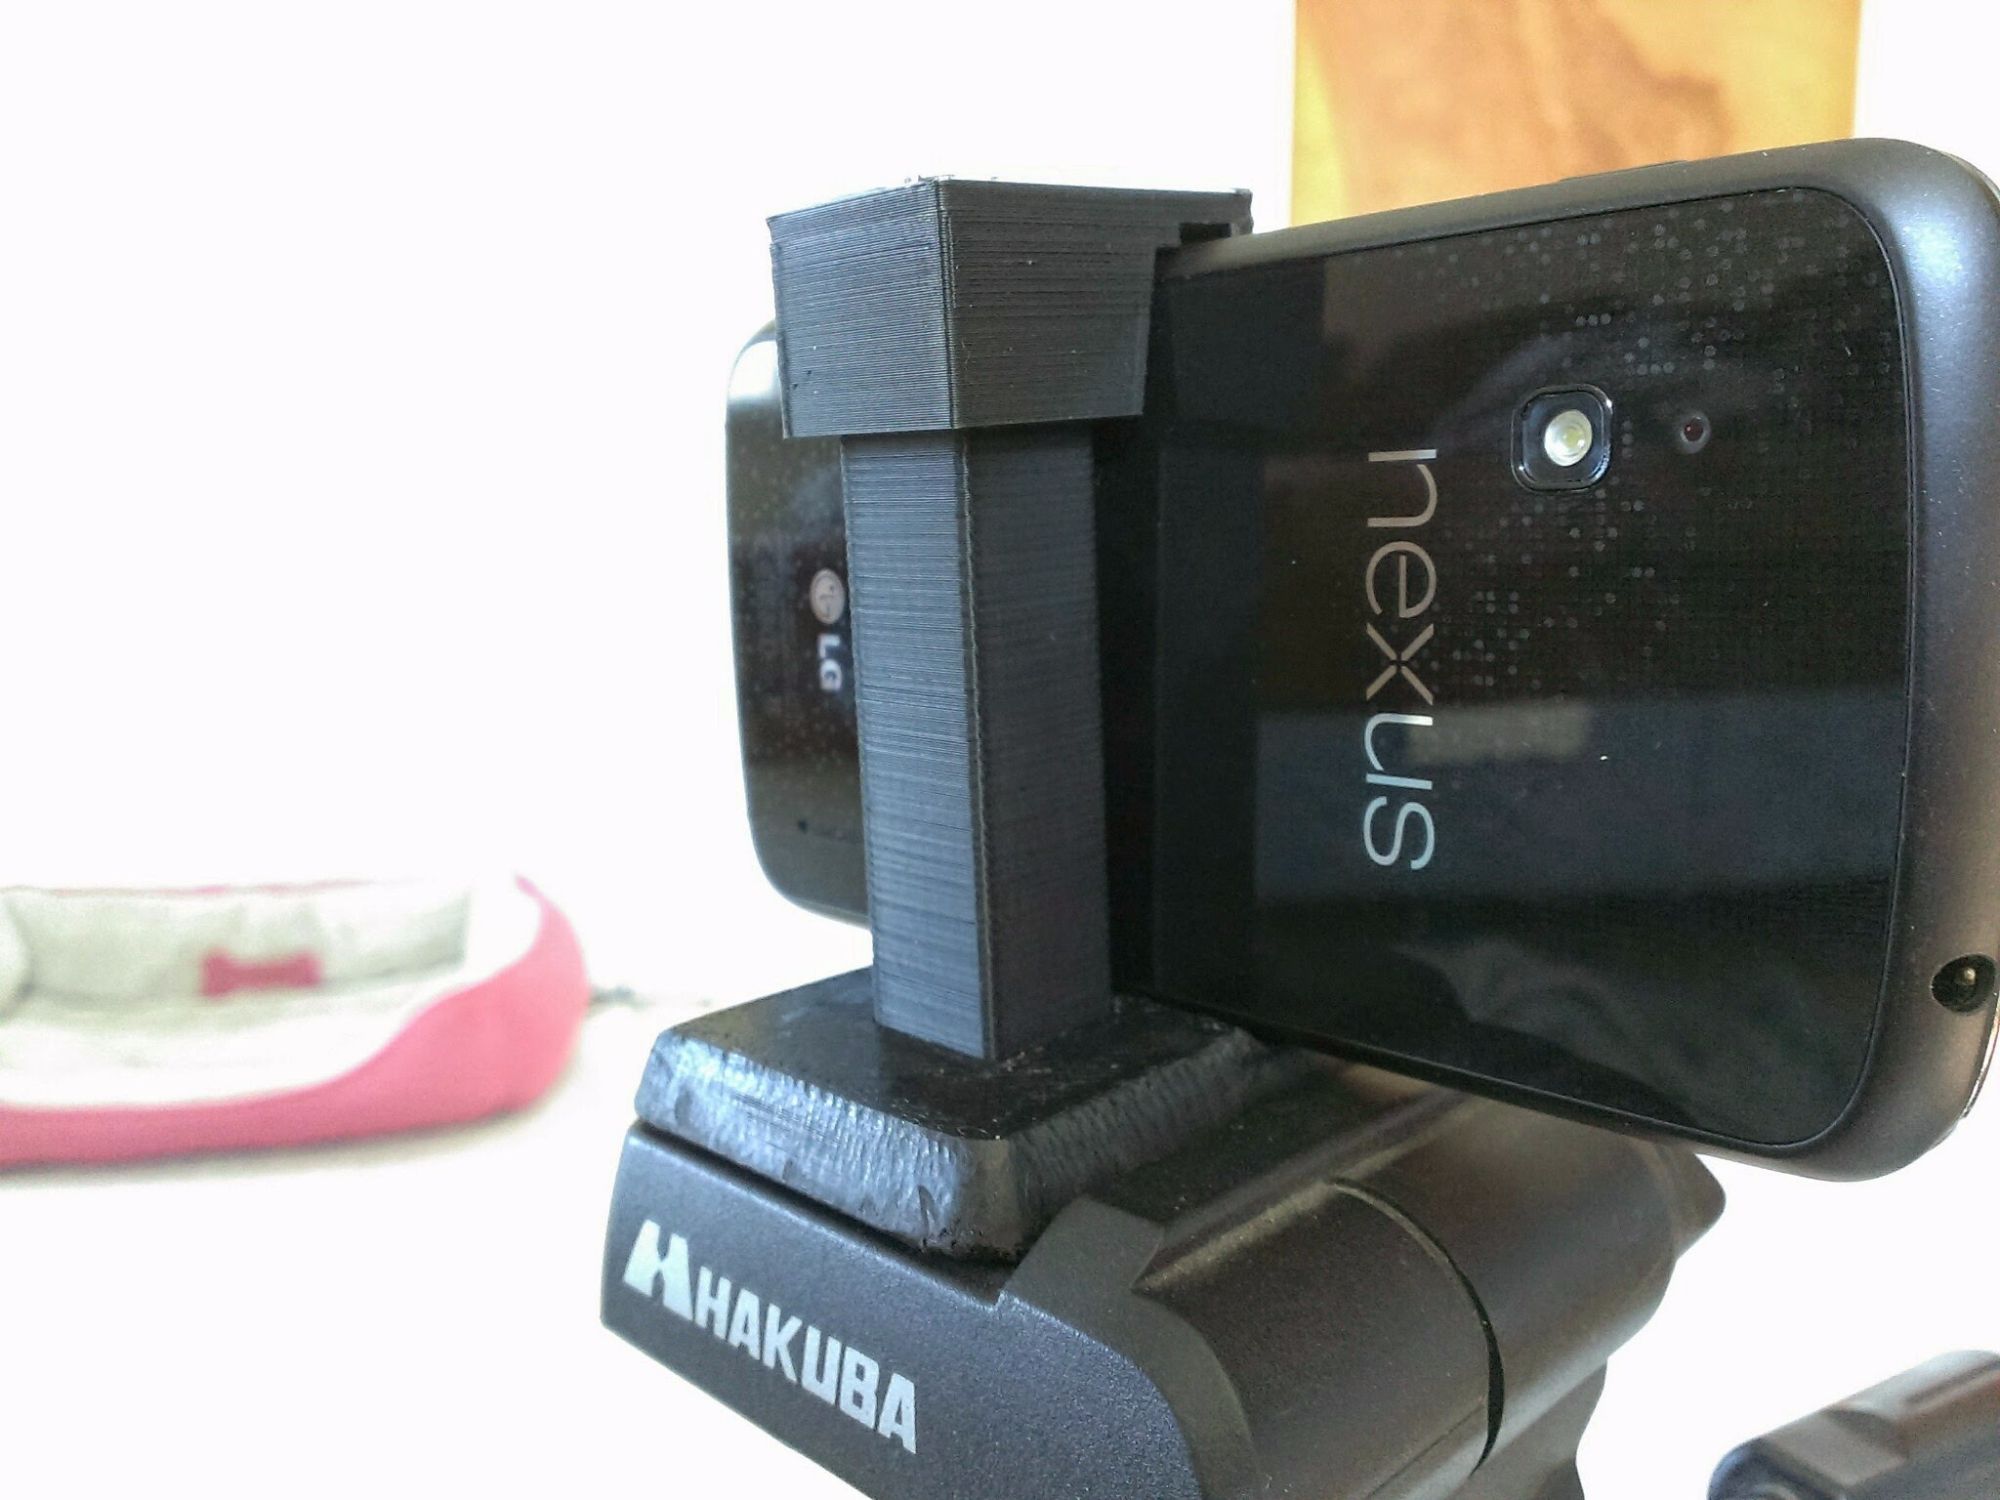
In my example I modified a headphone hook.  This persons file was simple and perfect for my needs, except I needed to adapt it to my desks thickness.

Before you begin, I will assume you have already donloaded and installed Sketchup.  If not, do that now.  You can grab it from SketchUp.com.  It’s available for Mac OS and Windows computers.  Once you have that installed you need to get one additional plugin.  This will give you the ability to import and export STL files.  You can download that from here: https://extensions.sketchup.com/en/content/sketchup-stl.

In order to download this plugin (or extension) you will need to authenticate with your Google account.  If you don’t have a Google account you will need to create one.  Once you authenticate and download this sketchup-stl extension you can install it under Window > Preferences > Extensions> Install Extension…

Install-Extention

  1. First you need to download the STL that you are wanting to modify.
  2. Open SketchUp to an appropriate template (millimeters for me)
  3. Import your newly downloaded STL file.  File > Import…
    Change the file type to STL (STereo Lithography Files)
    Click Options, Check both boxes and Select 
    Millimeters


  4. Inspect your file for any defects, and fix problems.
  5. Stretch or modify your file.
  6. Export newly created STL and compare in Slic3r.


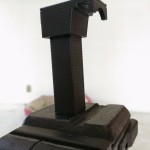
Here is the finished product:

Modified_Headphone_Hanger

Universal_Phone_Tripod_Mount_2

My First Product

I created my first 3D printed product.  It is a universal phone mount for a tripod.  I had to print it a couple times to get the design just right, but I feel like I learned a ton along the way.  I used Sketchup to design the print.  The reason I made my own design when others have STL files available is because all of them seemed to require a nut from the hardware store.  While that is probably a more universal fit for every tripod, it involved a trip to the store.  I made my design in mind of not purchasing any additional hardware (I happen to have rubber bands lying around).

My tripod has a 41 x 41 mm (1 5/8 x 1 5/8 inch) quick release plate on top.  I researched that this is called a 3502 Quick Release Plate.  I designed it with an opening in the center so that I can change out parts and make it more universal.  It is also designed to be wider at the bottom to stop it from pulling completely out.  This same part that slides through the mount plate has a hook at the bottom to secure the rubber band tied to the cap.

The cap is designed to slide in and out of the tallest part to allow for different sized phones.  It also has a few different sizes cut into the portion that grips the phone.  I specifically designed this for my phone and my girlfriends phone (HTC DNA, LG Nexus 7).  I would imagine any of the newer iPhone’s would fit just fine.  If your phone is roughly 70 mm wide it should make a great fit.  The trouble with any fit will likely be your tripod.


if you would like to download this print for your own printer, check it out:
http://www.thingiverse.com/thing:730489


Air_Horn_Prank_2

My Best April Fools Day Prank

Last year for April Fools day I decided to play a prank on my girlfriend.  She always leaves for work much earlier in the morning than I did at the time.  I got my prank idea from a picture of an air horn duct taped under a computer chair.  The idea here is that the air horn would go off when the target sat in his or her chair.

Air Horn Prank

Of course I got this idea at 1 AM that night.  I got up out of bed, and went to the store.  I tried to go to a Walmart that stated it was 24 hours.  Their hours were marked wrong online (and I am sure they still are).  I tried to go to a CVS, and a Walgreen’s, they didn’t have any air horns.  So I traveled 20 minutes north to the nearest Meijer.  They had mini air horns!  These were perfect to hide.  I bought three.  I also bought some funny duct tape (mustache) and some cream cheese (we will get to that later).

I secured my traps all around the house in a way that forced her to hit all three.  She would have had to leave through a window in order to avoid any of them.  I was renting a house built in the early 1900s at the time.  So there were no shortage of unnecessary doors.  The first horn was placed behind the bathroom door.  There was only one full bathroom in that house, so it was a sure thing.  The next horn was placed behind a swinging butler door that led to the kitchen.  Lastly, I placed the remaining horn behind a door that separates the kitchen from the basement / outside door.  She could have avoided this horn if she left through the front or back door, but she always left through the side door.

I forgot to mention that I tested these horns in my car at 2 AM on the way home so I would not wake anyone up near my house (they were SO LOUD).  I was so giddy with laughter I could hardly get to sleep.

April 1st she wakes up and gets out of bed.  She starts to make her way out of the bedroom and I am literally biting my pillow to keep myself from bursting out with laughter.  She immediately goes to the bathroom door (like we all do when we wake up) and the horn honks full blast.  She yells some swear words and goes about her day.  I try to go back to sleep (it’s 5 in the morning).  30 minutes later or so, she makes her way down to the kitchen and I hear that horn blast.  This time she is pissed.  She comes running up to the bedroom where I am sleeping / laughing uncontrollably and she punches me in the shoulder (it was playful).  She asks me if there are any more, and I avoid the question.  This time an hour goes by and she is just going about her morning rituals while I sleep in bed.  The last horn blasts!  She screams and leaves the house.

Anyway all that and it was an incredible morning for the both of us.  This was all possibly because of the tile floors.  Carpet would have posed some difficult problems when attempting to secure anything down.

This wasn’t all I did.  Luckily, its all she encountered.  For some reason she had this habit of using my deodorant.  I guess she ran out and just never bothered to replace hers.  I talked to her about this, I wasn’t a fan of sharing deodorant.  So I rolled my deodorant stick in a few inches while pushing into the cream cheese.  They were both about the same constancy and color.  I even put a little arm hair in the top and molded to to look like it was used.  Then I just rolled it back down and sat it back in the medicine cabinet.

Luckily for me, she didn’t use this.  This could have been a relationship deal breaker after all I did.

Cream_Cheese_Deodorant

Old_Bulb_Sizes

Replace your Incandescent Bulbs

So I just bought my first home and it was about time.  I purchased a home that was built in the early 60’s and it shows.  The structure of the home is fantastic.  However, the efficiency of the home has room for improvement.  The first thing I noticed is the amount of lights around the house.  There were so many bulbs and they were all incandescent.  This is the classic style of bulb we all grew up with (unless you were born after 2000).  The actual definition of incandescent is: emitting light as a result of being heated.  That right there is a loss of energy in the form of heat.  In the winter you might not be complaining as much, but in the summer you are only hurting your bills more.

So what do you do?  Well, there are two options: Compact Florescent Lights (CFL) or Light Emitting Diode (LED).  I am sure you have heard of both by now.  They are certainly not new technologies, but LED is just now becoming affordable and practical to use in the home.

I am going to briefly compare the two options.  I am not going to talk about incandescent any longer.  It’s only purpose is wasting your money via electric bill.

CFL is a great option at this point in time.  These bulbs have become extremely affordable, with no real drawbacks.  They are not as efficient as LED, but they are obviously better than that bulb we no longer speak of.  CFL bulbs also last a really long time.  The only real drawback I have read about is that they may have issues with flickering or fluctuating power sources.

LED’s are the choice for me.  Their only real drawback is the initial cost.  They are dramatically going down in price, but still more expensive than the alternative.  Something else I have noticed is that they can flicker with AC interference.  The only time I have noticed this is when I have a space heater and lamp connected to the same breaker.  I am guessing any power hungry alternating current device will cause this effect.  This also could be a result of my home not having adequate wiring to the standards of today.  80% of my outlets do not have a ground plug.

So really you have the option of spending more upfront and slowing saving over time or spending less and paying more in the end.  The LED’s are supposed to outlast the CFL’s by several years.  Some LED’s are rated to last over a decade (maybe more).  I didn’t bother buying anything at that quality because they are more expensive and by the time they burn out, I imagine the technology will be even further advanced.  We may have a whole new type of bulb in 2030.

I spend just over 300 dollars on LED bulbs.  The research I did said that I should be saving roughly 30 dollars a month with LED bulbs (there are calculators online to estimate these savings).  So in a matter of ten months they will have paid for themselves and the 5 or so years after will all be savings.

When I first bought them all at once, the clerk commented “this is the price of a round trip to Florida!”  While that is true during some parts of the year, I will be saving as much as 360 dollars a year by making this switch.  After 5 years (minimum guaranteed lifespan of LED bulbs) I will have saved $1800 dollars.

So you decide, whats the best option for your home?

Keep in mind, there are bulbs that are not worth replacing.  If you have a bulb in your fridge that is only one for 2 minutes a day, you will not see the savings.  If you want to make the switch to LED, replace the bulbs that are on the most.

Old_Bulb_Sizes
These are some old bulbs that I found in my home. From left to right is a standard 65 W, 200 W, and 300 W!
MakerFarm_Prusa_i3v_12

My First 3D Printer

I have been dreaming of owning a 3D printer for several years now.  It was hard to justify the purchase of such an expensive hobby when I was still a slave to rent.  Well, I finally bought my first home, so now I can justify it!

I still wanted to be conservative about the price point, and I didn’t want to miss out on any features.  I decided to go with a proven printer that was also a kit.  I went with the Prusa i3v 12 inch model.  This model uses aluminum slotted rails for movement.  I am not personally familiar with the rod models, but I have read my version can print faster.  I also think it adds to the stability of the printer.  Especially since the frame consists of laser cut wood.

So I ordered my kit from MakerFarm for roughly $700 USD.  I added several rolls of PLA and ABS, so it was a little more.  I also upgraded to us RAMBo electronics and a hexagon hot end (0.4mm).

So I ordered the printer and the waiting game began.  There was a 10 business day lead time, so I had to patiently wait for my new toy to arrive.

During that time I read and researched every little upgrade I was going to do.

The printer arrived on time (maybe even a day early).  I waited until the weekend to assemble it.  I dedicated my entire weekend to assembling that printer. I read that it would take roughly 18 hours. I took a much longer time because I am a perfectionist about my assembly and wiring. I gave a lot of thought to every part assembled. I also utilized heat shrink to make every wire safe and clean looking. In the end my printer looks fantastic. Once I did finally get everything assembled and configured my first prints were so good. Makerfarm provided me with a configuration file that leaves very little room for improvement. It was extremely encouraging to see the results I achieved in the first few days.

MakerFarm_Prusa_i3v_12
This is my MakerFarm Prusa i3v 12 inch 3D printer. It was made from a laser cut wood kit.

I have made many improvements since I first assembled the printer. I am now using a 1/8th inch thick mirror glass with clipped corners for my print surface.  I researched that the thin metal surface on a mirror helps distribute the heat from the heat bed more evenly.  I am also utilizing an aero gel insulation under the heat bed.  I implemented this because heat being transferred to the wooden frame was causing issues with warping.  Now the aerogel insulation keeps virtually all heat away from the wooden surface. This means zero warping. Warping causes the y-axis to jiggle as well as distorting the print bed. The print bed is virtually impossible to get perfectly flat across all 144 square inches. I have a cure for that as well.

This problem is solved with a self leveling z-axis.  I utilized some existing plans and models that I printed to accomplish this.  A servo motor controls an arm with a sensor that detects the distance to the print surface. The servo is excellent because it allows the mechanism to pivot out of the way before a print.  This method of setting the z-axis is preferred because it can be mapped in several points on the grid.  This compensates for any warping in the print surface.

Another addition I made to this printer is a print cooling fan. This will improve both ABS and PLA prints.  In order for me to be able to install this upgrade I had to reroute the hexagon hot end always on fan.  It now sits under the larger extruding gear and pulls the air away from the print.  This not only frees up room for the additional fan but improves the airflow.  It requires an ultra tiny fan and a few custom mounting pieces.  Everything was found on Thingiverse.

Some of the more basic things I did to improve my print quality were making sure that I had a stable surface to print on as well as providing a cushion to dampen any vibration.

I have also made a small change the the universal extruder. It was designed for both 3mm and 1.75 mm filament. Using a white Teflon tube I filled the gap and removed any room for filament to jam between the hobbed bolt and the hot end.

I am also hoping to print flexible filaments with this improvement. When I first started printing I had issues with the extruder losing grip of the filament. Luckily I overcame this issue by simply tightening the spring pressure mechanism forcing the hobbed bolt to have more pressure.

Network Labels

How to Properly Wire CAT6 (Part 3 of 3) [Terminating and Testing Your Runs]

So by now you should have read how to run the cable as well as plan your project.  The last things you will need to do are terminate your connections and test them!

First we should quickly go over the two RJ45 wiring standards.  There is A (T-568A) and B (T-568B) standards.  There really isn’t a benefit to one over the other, as long as they match on both ends (thats how you get a straight through connection) you’re going to have success.  However, the standards A and B are color coded on pretty much any jack and patch panels you purchase for your project.

In my example I went with the B standard because I researched it is more common in corporate networking.  I believe A is older, but more popular in conjunction with running phone lines.

So first you are going to want to strip a short length of your cable.  If you strip further back in order to immediately unsheathe the full amount you risk the chance of damaging the pairs you are about to punch down.  They are extremely small gauge and easy to damage.  You might not even see it, but you will find out you did it when the cable doesn’t pass its tests.  So only expose a short amount of the pairs.  You will be presented with 4 pairs of wires, a cable protector, and a pull string.  This may be only present in higher quality CAT6.  So pull the pull string, and it will unsheathe more of the protective coating and reveal more of the pairs.  This will avoid the possibility of damaging the pairs during the stripping process.  Once you wires are exposed, you will want to cut away the pull string and wire divider.

Next, you want to start unraveling your wire in order to place it in the proper location to be terminated.  Make sure you only unravel as little as possible.  The twists in the pairs improve the signal quality.  The jacks you are placing the wires into should be color coded to the patter you decided to go with.

Lastly you will want to punch down the cables.  Your punch down tool has a sharp end an an end that doesn’t cut the wire.  You want to punch down each wire in a way that the outside of the wire is discarded when its fully punched.

Once you have punched down all the pairs, keep the jack exposed before tucking everything away.  I recommend testing your connections before cleaning up everything up.  Punching down into the back of the patch panel is extremely similar to the wall jacks.  Stick with either A or B standards on both sides or you will create a crossover cable, and most likely have some strange networking issues because of that.

I recommend securing your patch panel to a network rack that is not able to move around.  The last thing you want is one of the pairs coming lose.  If your rack is on wheels, you’re likely going to be seeing networking issues over time.

You will also want to mount your switch right above or below your patch panel.  This will give you the ability to utilize short length patch cables and quickly get your network up and running.

Lastly you want to test each connection.  This is straight forward.  Test each pair then label them on both sides to help you stay on top of what ports have already been tested.

Once everything is labeled and tested you can tidy up your wall plates and clean up!

Don’t forget to put any drop ceiling tiles in their place.  You want to leave a good impression and I have always been told to leave places cleaner than they were.